Broken Planet Step By Step Photoshop Tutorial
Step 1
Create a new document 1920x1200 and the create new layer and fill in black, goto Layers/Leyer Styles/Gradient and follow these instuctions: Blend mode=normal, Opacity=49, Use black to white and tick reverse, Radial and the angle at 90, last but not least scale of 88.

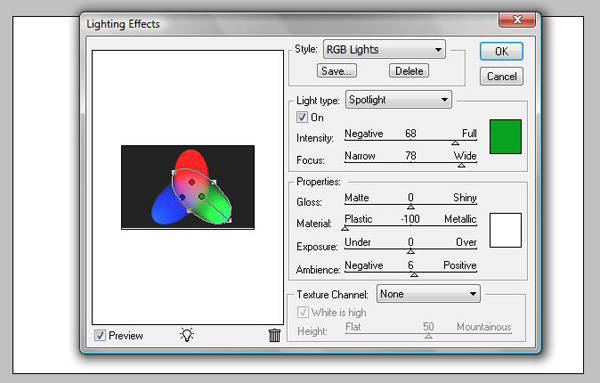
Step 2
Create a new layer and fill in white, then goto Filter/Render/Lighting Effects and change the styles to RGB, Negative=68 Intensity, Narrow= 78 focus
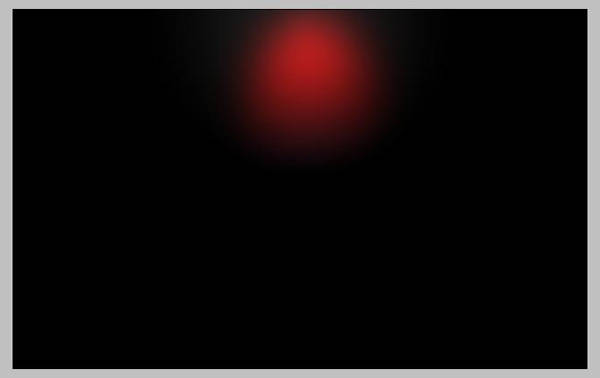
Step 3
Now goto Filter/Blur/Gaussian Blur and set it to 72 px radius and change the layer blende mode to Overlay.
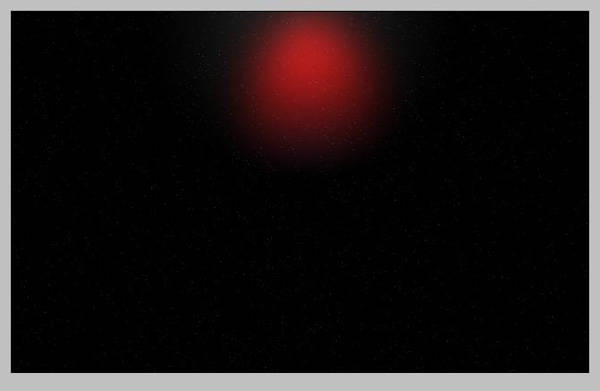
Step 4
Create new layer and fill in black, goto Filter/Noise/Add Noise and use 12% for the amount and gaussian for the distribution and tick the monochromatic. Now goto Image/Adjustment/Levels and input 65,1.0,99 and click ok, now set your layer blend mode to screen.
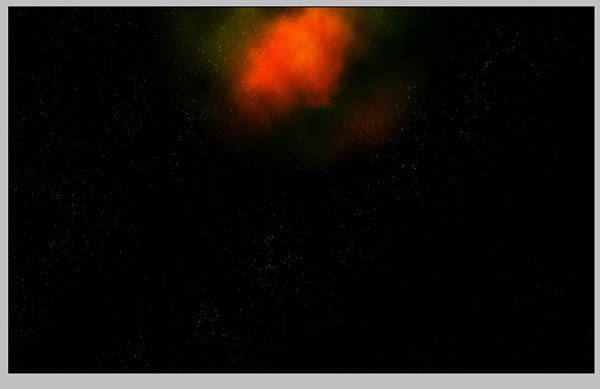
Step 5
create new layer and press D on your keypad to make sure your forground and background colours are black and white. Now goto Filter/Render/Clouds, then goto Layer/Layer Style,ok set the blende mode to Overlay and the colours i use for the gradient are from left to right as follows, light blue, green, yellow and red (Colours dont have to be exact that is why i have not given exact numbers for you). Now angle it to 130 and scale it to 52. Now set your layer style to overlay.
Step 6
Ok create a new layer and place it above the background layer and layer 1. Now fill this in black and goto Filter/Render/Lens Flare and keep at 100% brightness and use the 105mm prime for the lens type, now position it just below centre and click ok.

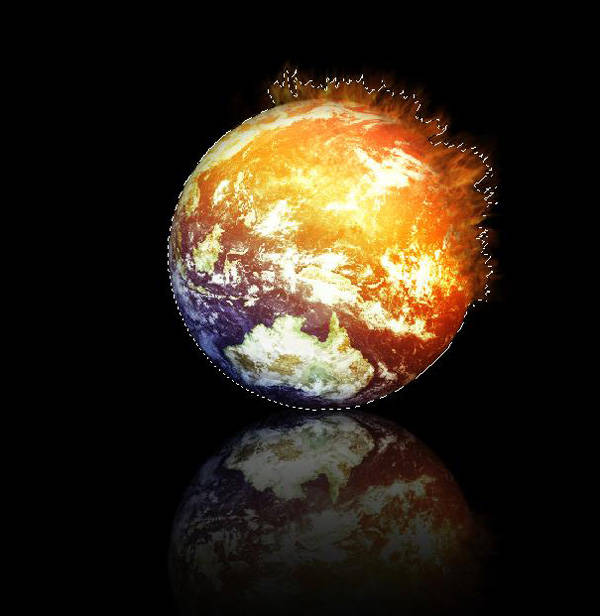
Step 7
Click here and download image. Now upload to photoshop and then grab your pen tool and draw round it which i have on the image below. Once you have drawn round it right click on it and make selection, set to 0 and click ok, now go to Edit/Copy.
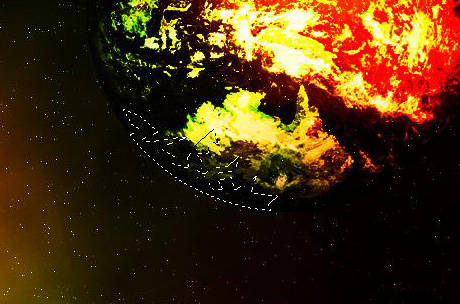
Step 8
Now create new layer just above the lens flare layer you have just done and press Ctrl and V and place it to the top right of the image, now grab your pen tool again and make a breaking shape like i have on your planet (Please refer to image below if struggling) now press right click and make selection, set it to 0 and press ok, then goto Edit/Copy.
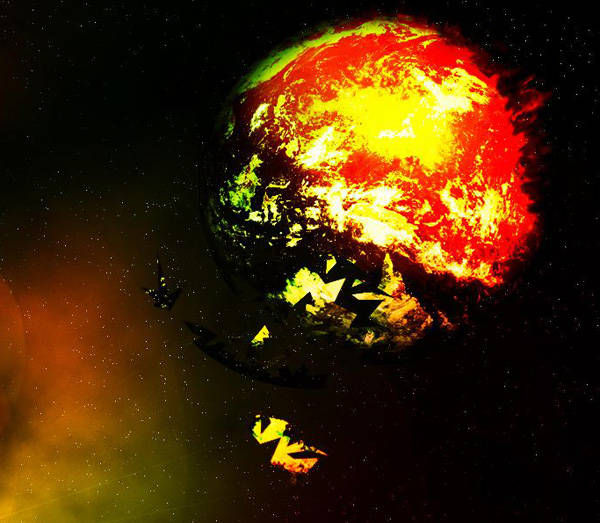
Step 9
Create new layer above your last one you did and press Ctrl and V, now do this as many times as you like to make your broken planet.
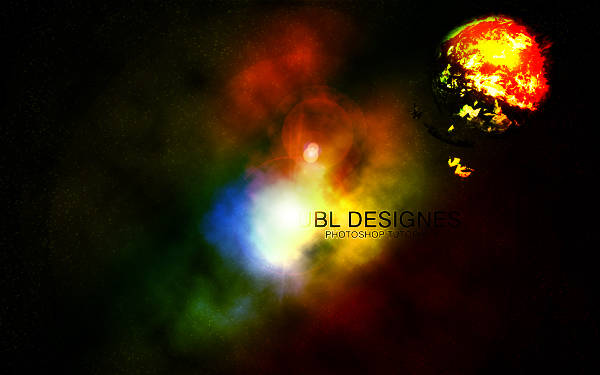
Final Step
All i did is created a new layer and i grabbed the horizontal type tool and Typed UBL Designes, i did the text in black and then went to Layer/Layer Style/Stroken and set it to white and set the size to 1. I then Duplicate this twice, I then selected all 3 text layers and went to Layer/Merge Layers... I then duplicated again and merged again, last thing i did was set the layer to Overlay. I then followed this again for the Photoshop Tutorials text.


 Sun May 10, 2009 4:32 pm


